Geomagic Control X
Scan-based Inspection Software
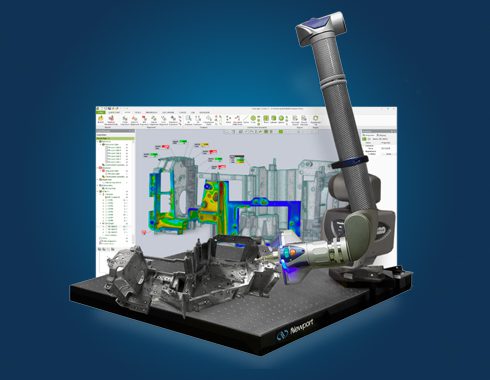
Bring the power of 3D scan-based inspection to more people in more places with industry-leading 3D metrology software that makes it easy to capture and interpret scan data.
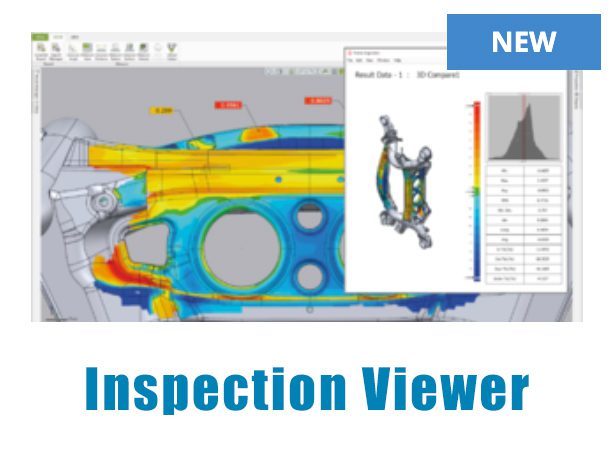
Geomagic® Control X™ is a professional 3D quality control and dimensional inspection software that lets you capture and process the data from 3D scanners and other portable devices to measure, understand, and communicate inspection results to ensure quality everywhere.
Inspection isn’t just for metrology specialists. Geomagic Control X empowers everyone to measure, understand, and make decisions about their parts faster, more often, and more completely—from anywhere.
- Ensure quality everywhere. Bring the power of 3D scan-based inspection to more people in more places with software that makes it easy to both capture and interpret scan data.
- Gain deeper insights beyond pass/fail. Scan parts to capture more information and leverage rich data to understand why parts are in or out of tolerance.
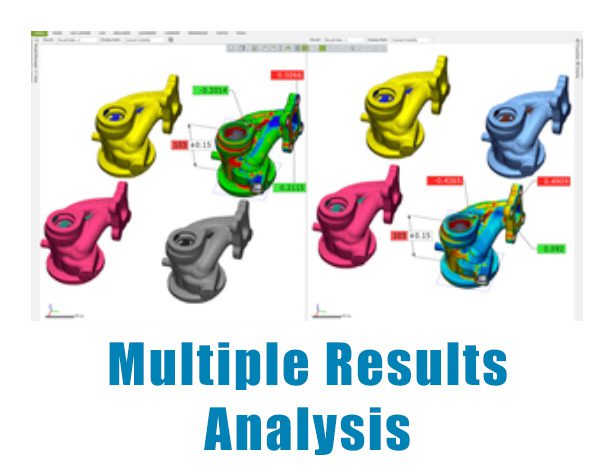
- Optimize manufacturing processes. Recognize and address issues faster with insights gained from comparing scanned parts to CAD models or golden parts.

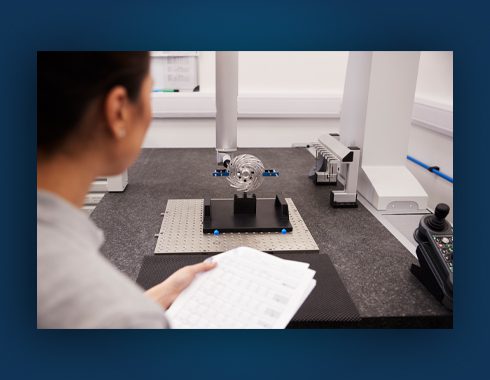
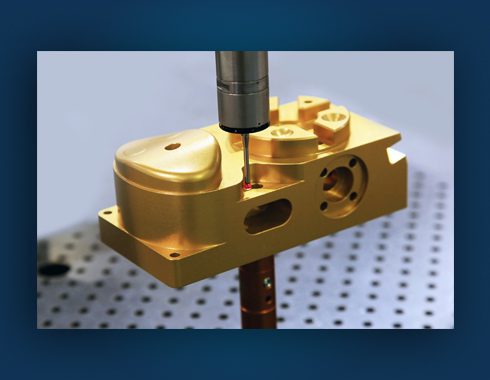
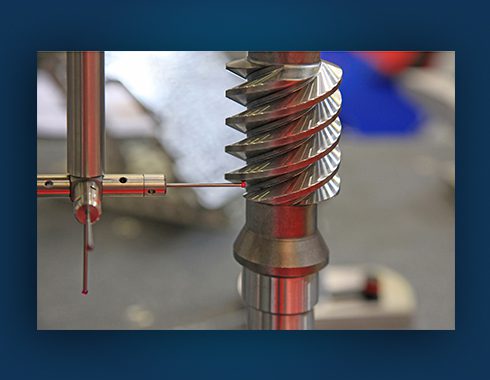
Speed: Gather Data Quickly
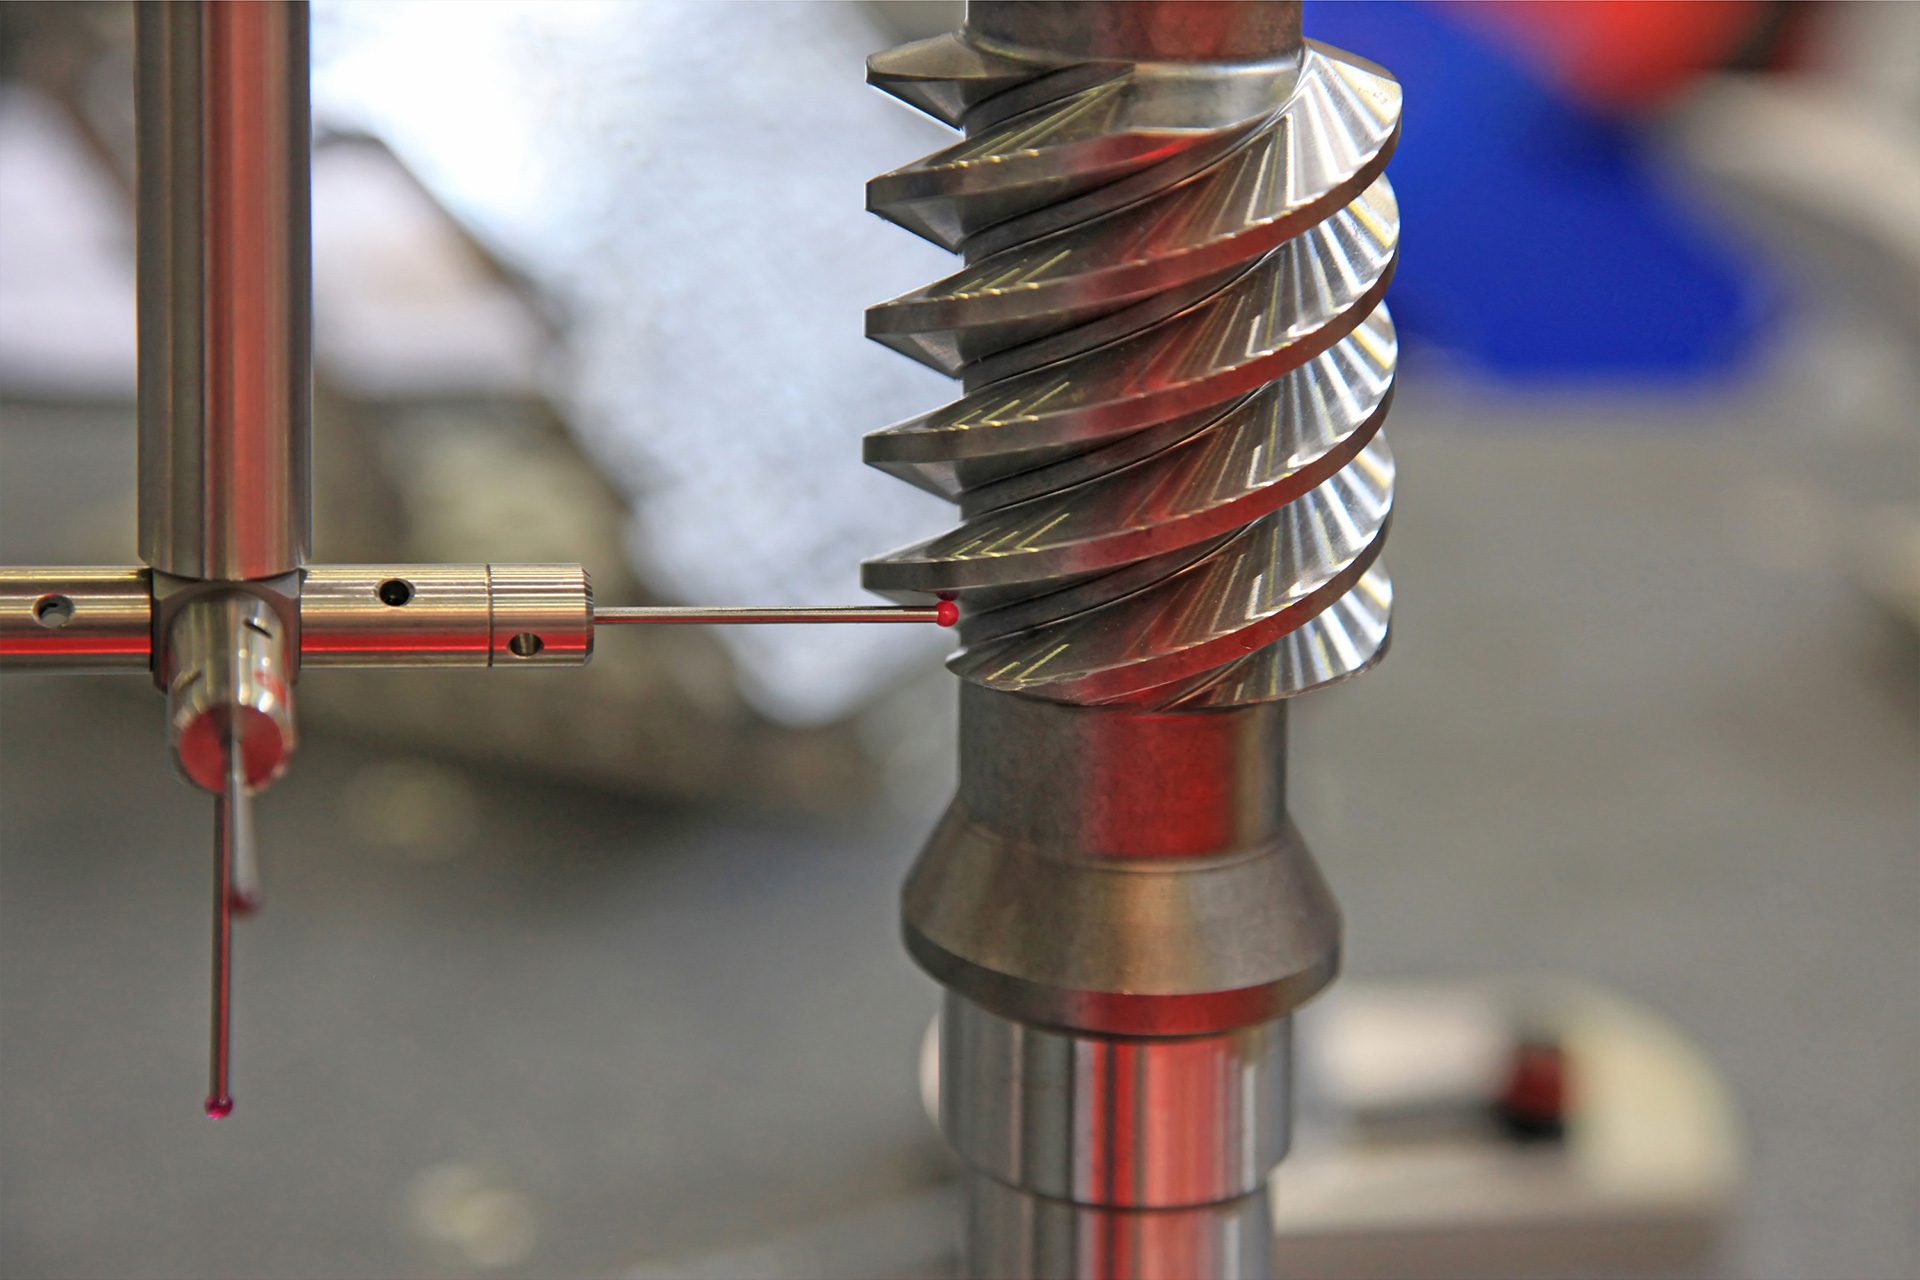
A typical CMM will capture a few dozen points per minute. Scanning can capture hundreds of thousands of points per minute. 3D scanning is an excellent tool for product and process designers who are looking to quickly capture, measure, and verify that a part is conforming to spec. Scanning-based inspection (CAV) uses this full-coverage advantage to demonstrate deviation visually. Specific dimensions can be extracted from the 3D data at any time.
Coverage: for Organic Shapes
Organic shapes such as rifle stock, computer mouse, motorcycle helmet, or prosthetic – can be very difficult to define with traditional CMM inspection. 3D scanning renders this as a non-factor. Scanners collect high-resolution data on organic surfaces very quickly and accurately. A point cloud contains millions of points that can be used to show incredibly fine detail on any near-flat or contoured surface.
Design
- Design for manufacturability.
- Find and fix problems.
Manufacture
- Identify and resolve manufacturing and assembly issues.
- Eliminate costly scrap and rework.
Inspect
- Solve your toughest measurement problems.
- Improve quality documentation.
- Reduce quality control bottlenecks.
Maintain
- Assess damage, deformation, or wear accurately and consistently.
- Predict part failure before it happens.
Geomagic Control X Features
